4- Abra sua imagem Edit > Copy
5- Edit > Paste into
selection Selections > Select none
6- Effects >
Image effect > Seamless > Default
7- Adjust > Blur
> Radial Blur = Zoom - 50 - 0 - 0 - 0 Elliptical desclicado
8- Effects >
Geometric Effect > Perpective Horizontal = 90 Transparent
9- Image >
Mirror
10- Repetir item
8
11- Effects >
Reflection Effect > Feedback = 90 - 100 - V - H = 50 Elliptical desclicado
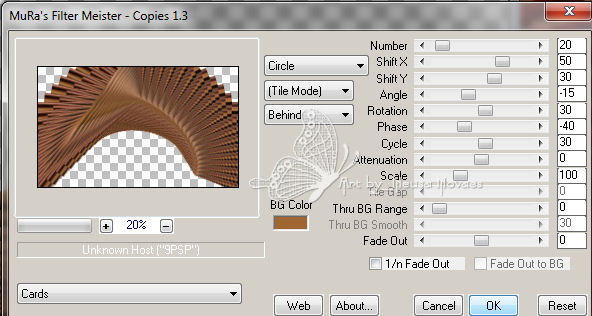
12- Plugin Muras
Meister > Copy conforme printe
13- Aplicar mask
ket1 anexa e merge group
14- Com a
ferramenta Pick Tool diminuir debaixo para cima
até chegar no
400 px
15- Nova layer >
arrange > move down
16- Preencha com
o gradiente anterior
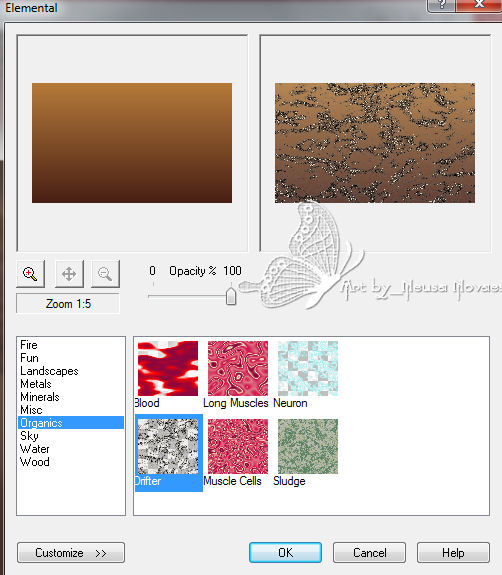
17- Plugin XE
Xtras > Elemental conforme printe
18- Adjust
> Sharpness > Sharpen
19- Aplicar a
mask 1_tjk anexa - merge group
20- Ativar a
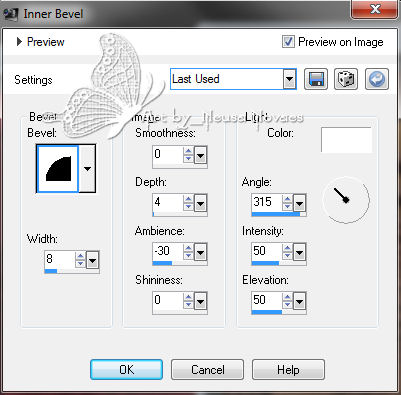
Group raster 1 aplique drop shadow 10 - 0 - 80 - 20,00 e Nova layer
21- Layer >
Arrange > Move down e preencher com sua cor clara
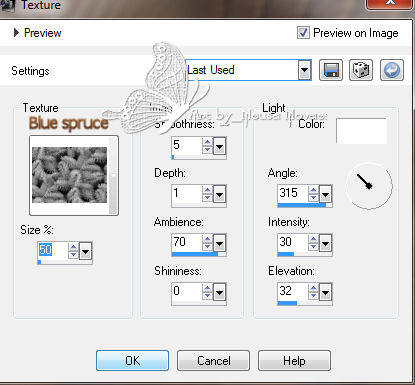
22- Effects >
Texture Effect > Texture conforme printe
23- Image >
Canvas Size 1100 x 700 sendo 50 px em tudo
24- Com a
ferramenta magic wand selecionar a parte transparente
25- Nova layer e
preencher com a cor escura escolhida
26- Effects
> Texture Effect > Mosaic Antique = 85 - 85 - 70 - 2 - 70 Symmetric clicado
27- Selections >
Invert
28-
Aplique drop shadow negativo e positivo 10 - 10 - 100 - 30