 |

Terms of use
- 2 Tubes
- 1 Deco
(Annex)
-
Simple plugin
FFG D plugin
Muras Meister Plugin
AAA Filters plugin-
Materials
HERE
-
EML Tutorial
HERE
-
Video
HERE
- PSP Effects
Script
Click on the butterfly
to follow the tutorial.
Let's start!!!
1.- Let's make a gradient New Image I put
dark color
in Foregraund # c57ca2 and with light color
in Background # cfcb85
2.-Open
Alpha_Weary and fill in with your gradient
3.-Select
4.-Open your tube Edit> Copy
5.-Edit> Paste Into Selection and Unselect
6.-Image Effects> Seamless Tiling = Default
7.-Adjust> Blur> Radial Blur as present

- 8.-Simple Plugin> Quick Tile
9.-Duplicate and Edge Effects> Enhance More
10.-Duplicate again
11.-Filter Factory Gallery Plugin D> Voitex as it is
-
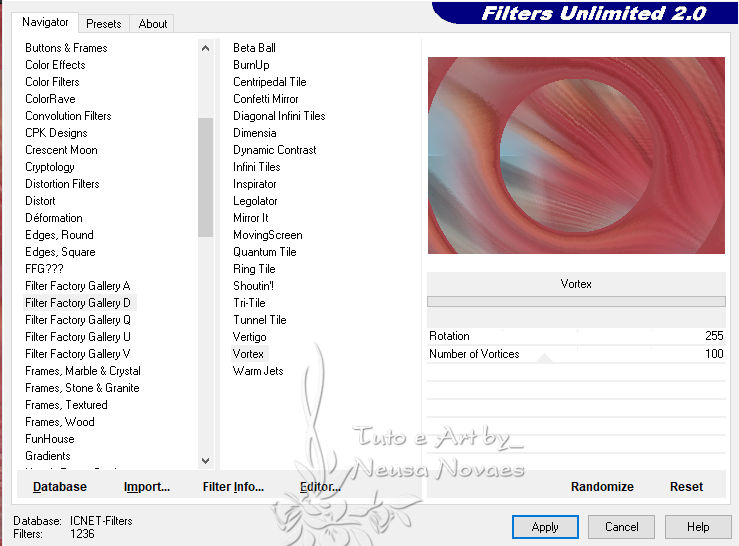
-
- 12.-Selecions> Load / Save
Selection> Load Selection From Alpha Channel
and locate Selection # 1
13.-Delete
14.-Modify> Select Selection Borders as Next-
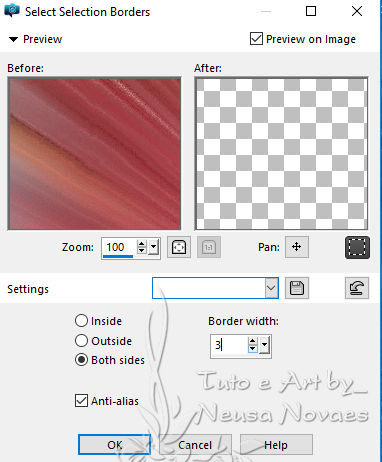
-
- 14.-Fill in with your gradient.
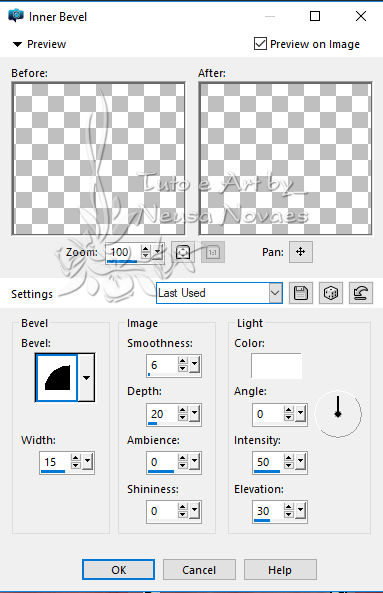
15.-Apply Inner Bevel as applicable.
-
-
- 16.-Take Selection
17.-With the Magic Wand tool select the center of the transparent part
18.-Layers> new Raster layer
19.-Open Edit> Copy and Paste Into Selection Your Landscape Tube
20.-Adjust> One Step Photo Fix (Optional)
21.-Layers> Arrange> Move Down
22.-Activate Copy (2) of Raster 2 and apply Enhance
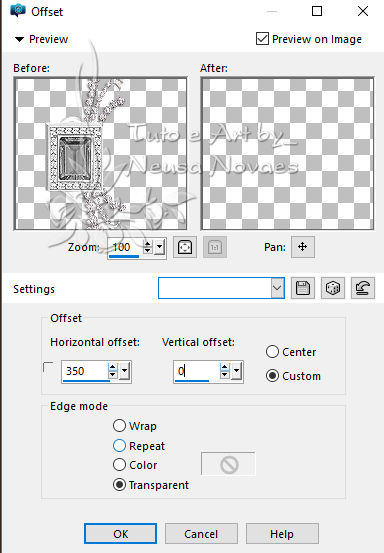
23.-Open Edit> Copy and Paste as New Layer at diam010 (deco)
24.-Image Effects> OffSet as Next
-
-
- 25.-Apply Drop Shadow to taste
26.-Layers> New Raster Layer and
Image> Canvaz Size 900 x 650 px being 50 px on botton
27.-Fill in with your gradient (a darker color in the foregraund)
-
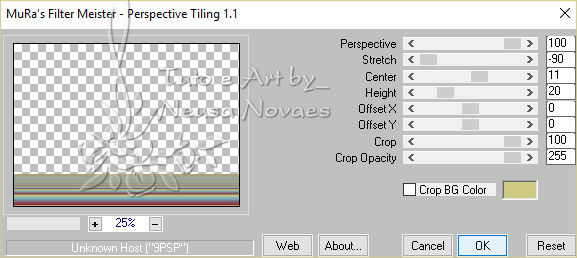
- 28.-Image> Vertical Mirror and
Muras Meister Plugin> Perspective Tiling as needed
-
- 29.-With the Pick Tool present
Perspective tool take the
left to right up to 200 px
30.-With the Magic Wand and Feather = 50 tool select the center of the
transparency.
31. With your DEL key delete 5 times and deselect
32.-Layers> New Raster Layer
33.-Prenecher with white color
34.-Layers> Arrange> Send To Botton
35.-Activate Raster 4 (where deleted 5 times) and apply Drop Shadow to taste
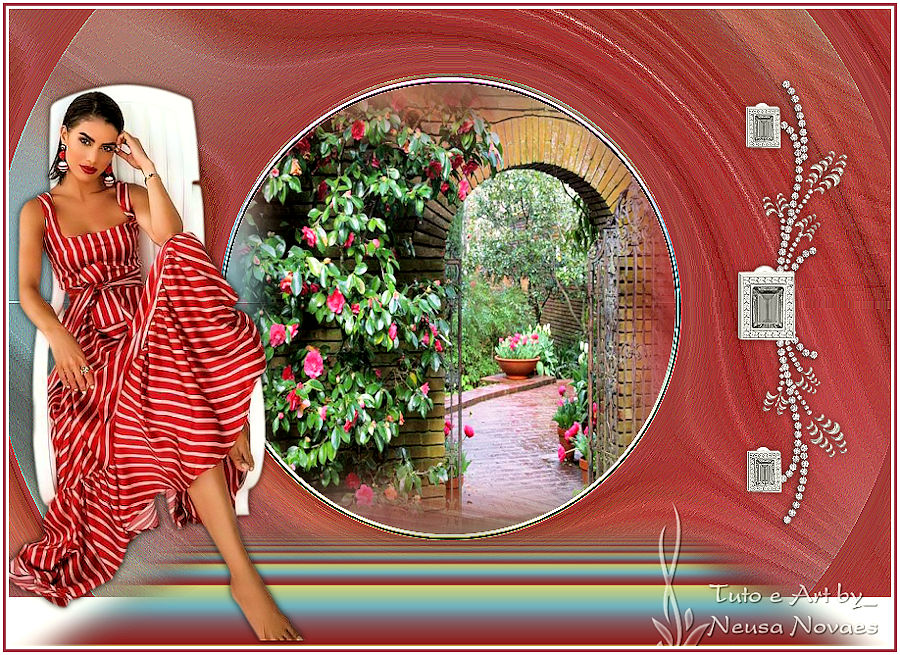
36.-Open, edit, copy and paste your main tube and put it to taste
37.-Adjust> Sharpness> Sharpen and apply Drop Shadow to taste
38.-Put mine and your brand
39.-Image> Add Border = 4 px white
40.-Image> Add Border = 4 px in dark color
41.-Image> Add Border = 4 px white
42.-Resize = 900 px
43.-Plug AAA Filters> Custom> Landscape
44.-Save to JPG
-
-

-
- ** Tutorial created by Neusa Novaes **
August 22, 2019
Any similarity is purely coincidental.
Forbidden total or partial transfer, copies, alterations
publication on websites or blogs without permission of the author.
NOTE: - Don't forget to
put credits to the rightful owner.
 Crédits Crédits
Tubes:- LB
e Deco without authorship
|

