 |

Terms of use
1Tube
DragonFly Plugin
VM Distortion Plugin
Muras Meister Plugin
Experimental VM Plugin
AlfÇs Borber FX plugin
AAA Filters Plug
EML Tutorial
HERE
Video
HERE
PSP
Effects
Script
Click on the butterfly to follow the tutorial.
Let's start!!!
1.- Let's make a radial gradient 90 - 3 with
dark color in the
Foregraund # 33444e and with Light Color on
Background # f1f6f5
2.-Open a transparency and fill it with your
gradient.
3.-Layers> New Raster Layer
4. DragonFly Plugin> SinedotsII as present

- 5. With the Pick Tool, pull left
and pull down.
6.-Duplicate and Image> Horizontal Mirror
7.-Merge Down> Image> Mirror Vertical
8.-Duplicate and Resize = 80%
9. Repeat item 8
10.-Take visibility of Raster 1 and Merge Visible
11.-Go back to the visibility of Raster 1
12.-Still Merged enabled apply Drop Shadow = 0 - 0 - 80 - 30.00 in black
13.-Activate Raster 1 and duplicate
14.-VM Distortion Plugin> Tilomat 2000 as specified
-
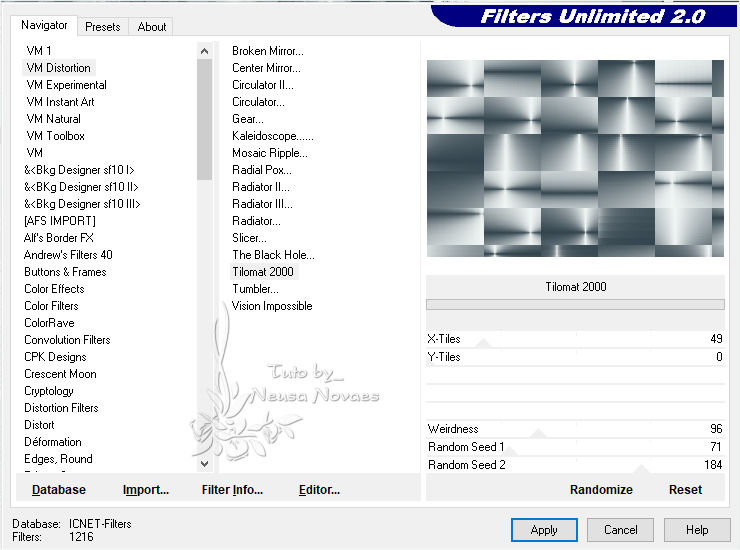
-
- 15.-Enable Raster 1
16.-Image> Canvaz Size = 900 x 650px being 50 px on the botton
17.-Activate Copy of Raster 1 again and with the tool
Pick tool pull down
18.-Muras Meister Plugin> Perspective Tiling with Height 30 remaining
19.-Apply Drop Shadow = 0 - 0 - 80 - 30.00 in Black
20.-Edge Effects> Enhance
21.-Activate Merged
22.-Objects> Align> Botton
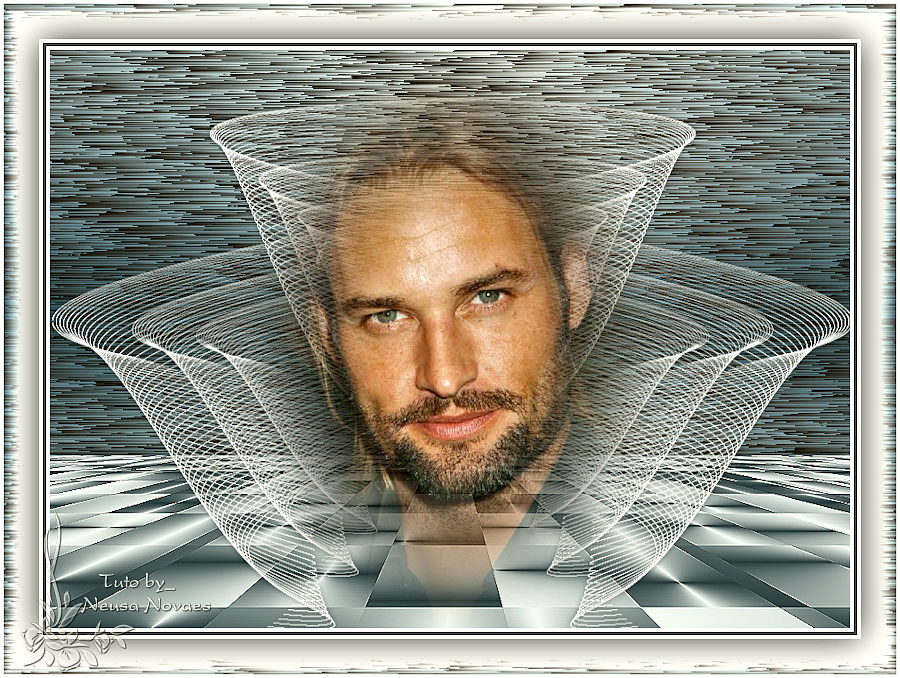
23.-Open, Edit, Copy and Paste as new layer your tube
24 .- (If necessary lightens a little)
25.-Apply Light Drop Shadow to taste
26.-Enable raster 1
27.-VM Experimental Plugin> Needles and Pins ... as per printe
(can put another color)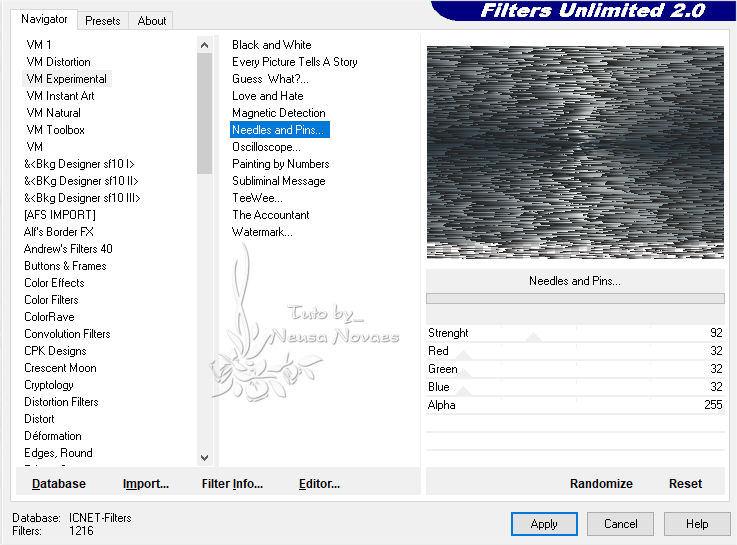
-
- 28.-Blend Mode = Soft Light (Optional)
and Adjust> One Step Photo Fix
29.-Edit> copy and book
30.-Image> Add Border = 4 px White
31.-Image> Add Border = 4 px in dark color
32.-Image> Add Border = 4 px white
33.-Select
34.-Image> Add Border = 40 px in dark color
35.-Invert and Edit> Paste Into Selection
36.-Plugin AlfÇs Borber FX> Border Fade I as per
-
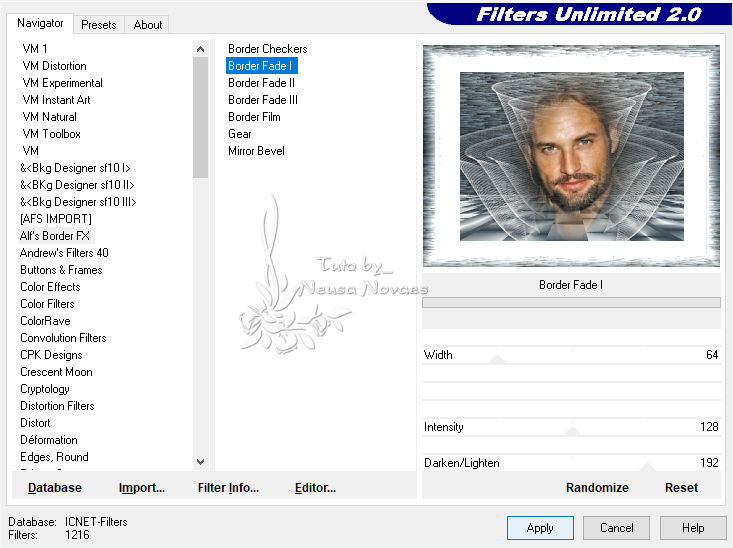
-
- 37.-Invert again
38.-Apply Drop Shadow = 0 - 0 - 80 - 60.00 black color
39.-Unselect
40.-Image> Add Border = 4 px white
41.-Put mine and your brand
42.-Resize = 900 px
43.-Plug AAA Filters> Custom> Landscape
44.-Save to JPG
-
-

-
- ** Tutorial created by Neusa Novaes **
August 16, 2019
- Copyright
Any similarity is purely coincidental.
Forbidden total or partial transfer, copies, alterations
publication on websites or blogs without permission of the author.
NOTE: - Don't forget to
put credits to the rightful owner.
 Credits Credits
Tubel:- LB
|

