Top TDA All
Terms of use
Click on the flag of your country, for translation.
Depending on your connection the translation may take a while
2 Tubes
Muras Meister Plugin
Plugin Unlimited2> Render
Material HERE
Eml Tutorial HERE
Video Tutorial HERE
Brand D'Agua HERE
PSP Effects
Script
Click on the butterfly to follow the tutorial
1- Open a transparency 900 x 600 px
2- Open your tube and choose 2 colors dark color for Foregraund and clear for the Backgraund
3- Make a Linear Gradient 140 - 15
(I chose colors F = # f7d1bc and B = # 812623)
4- Selections> Load Save Selection = select_oval
5- Fill with your gradient
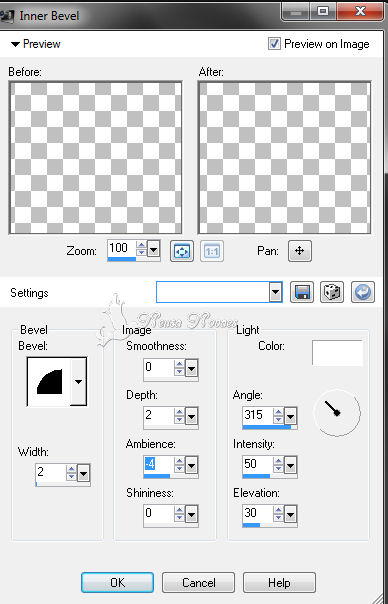
6- Effects> 3D Effect> Inner Bevel conform printe
7- Selections> Selection None
8-Image> Resize = 60%
9 - Effects> Image Effect> OffSet being H = -250 - V = 160 - Transparent Click
10- Layers> Duplicate = 2 times thus getting a total of 3
11- Take the Visibility of Raster Copy 2
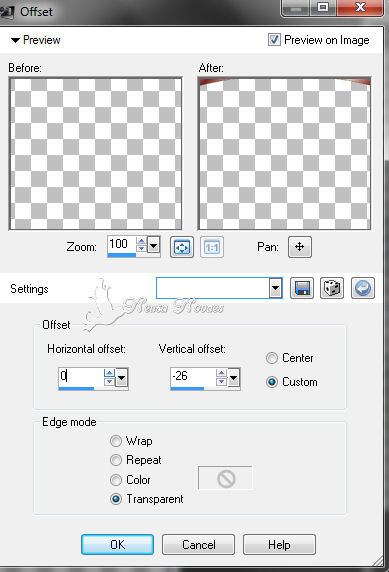
12- Activate Copy 1 and Effects> Image Effect> Offset according to printe
13- Activate Copy 2 and Effects> Image Effect> OffSet - H = 0 - V = -53
14- Layers> Merge> Merge Visible
15- Layers> Duplicate
16- Activate the duplicate Raster and Effects> Image Effect> OffSet - H = 0 - V = -80
17- Layers> Merge> Merge Down
18- Image> Flip
19 - Effects> Image Effect> OffSet - H = 0 - V = 200
20-Image> Resize = 70%
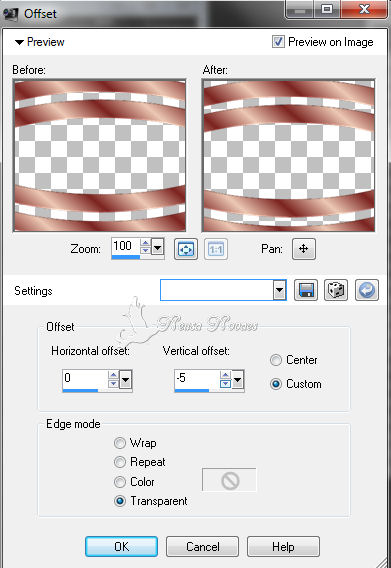
21-Effects> Image Effect> Offset according to printe
22- Effects> 3D Effect> Drop Shadow negative and positivio = 0 - 3 - 80 - 10,00
23- With the Pick Tool lift upwards 50 px and from the left
to right 100 px according to printe
24- Layers> Duplicate
25- Image> Mirror and then Layers> Merge> Merge Down
26- Layers> Duplicate again
27- Image> Canvaz Size = 900 x 650 px being 50 px in the botton
28- Mister Meister Plugin> Perspective according printe
29- Layers> Arrange> Move Down
(it is optional to duplicate the floor)
30- Open your landscape tube Edit> Copy and then Layers> Arrange> Move Down
31- Edit> Paste as New Layer and position to taste
32- Layer> New Raster Layer and Layers> Arrange> Send to Botton
33- Fill with gradient Linear 0 - 1
34- With the Pick Tool Up to 350 px
35- Plugin Unlimited2> Render> White Blue = 62 - 128
36- Layers> New Raster Layer and Layers> Arrange> Send to Botton
37- Fill with a solid color that matches the floor
38- Activate Copy of Merged with Magic Wand select transparent part
39- Selections> Modify> Feather = 25
40- Edit> Cut = 5 times
41- Selections> Select None
42- Layers> Merge> Merge Visible
43- Image> Cavaz Size = 1000 x 750 px being 50 px in all
44- With the Magic Wand tool select the border
45- Fill in with the initial gradient
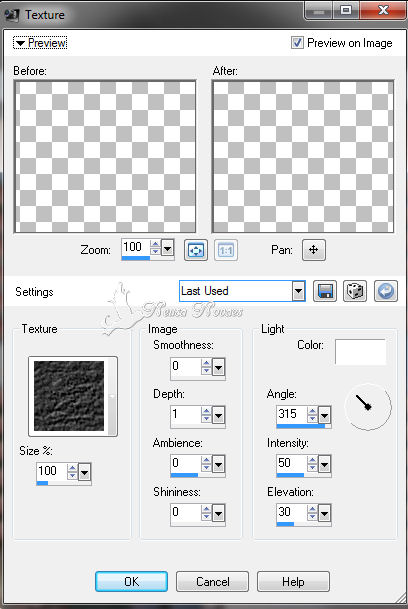
46- Effects> Texture Effect> locate the texture Lava conform printe
47- Selections> Invert
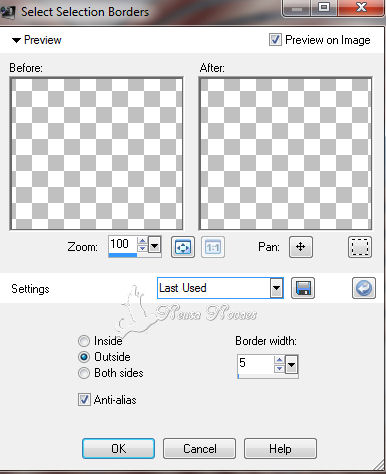
48- Selections> Modify> Select Selection Border as printe
49- Layers> New Raster Layer
50- Fill with a golden gradient (Gold) same setting
51- Effects> 3D Effect> Inner Bevel Same Previous Configuration
52- Selections> Select None
53- Layers> Merge> Merge Down with your image
54- Selections> Select All and then select Selections> Modify> Contract = 45 px
55- Effects> 3D Effect> Drop Shadow negative and positive = 5 - 5 - 80 - 30,00
56- Selections> Select None
57- Open your main tube Edit> Copy
58- Edit> Paste as New Layer if it is necessary to resize and position to taste
59- Apply a light shade
60- Layers> Merge> Merge Visible
61- Image> Add Border = 5px matching color
62- With the Magic Wand tool select the border
63- Fill with the previous golden gradient
64- Effects> 3D Effect> Inner Bevel Same Previous Configuration
65- Selections> Invert
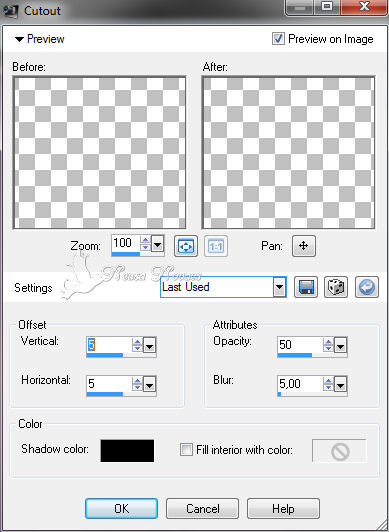
66- Effects> 3D Effect> Negative and positive cutout according to printe
67-Image> Resize = 900 x 677 px
68- Putting mine and your brand
NOTE: - Do not forget to put the credits to whom right
** Tutorial created by Neusa Novaes **
October 30, 2014
Copyright reserved
Prohibited total or partial transfer, copies, alterations
publication in websites or blogs, without author's authorization.
Credits
Tubes: - Ana Ridzi, Nini and Grisi
Tutorial by_Neusa Novaes