-
3.- Selecionar
-
-
4.-Abrir, copiar
e colar na
seleção o tube
Gabry-man 103-17
-
-
5.- Tirar a
seleção
-
-
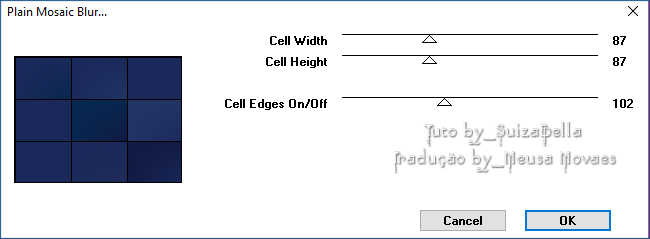
6.- Plugin
Toadies > Plain
Mosaic Blur
conforme printe
-
-
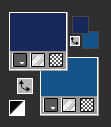
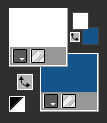
7.- Com a Magic
Wand selecionar
dentro das
linhas e
preechemos com
#ffffff
-
-
8.- Tirar a
seleção
-
-
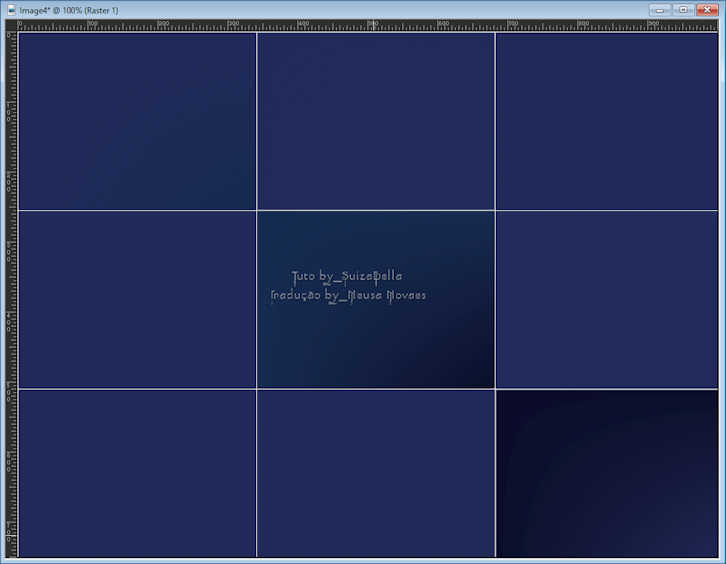
9.- Sua arte
ficará assim:
-
-
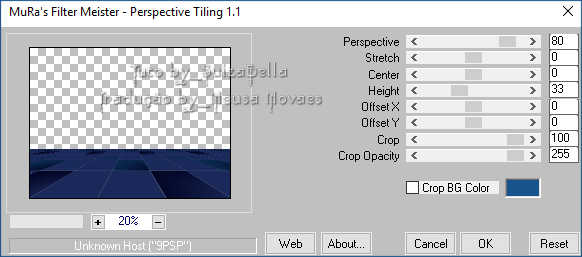
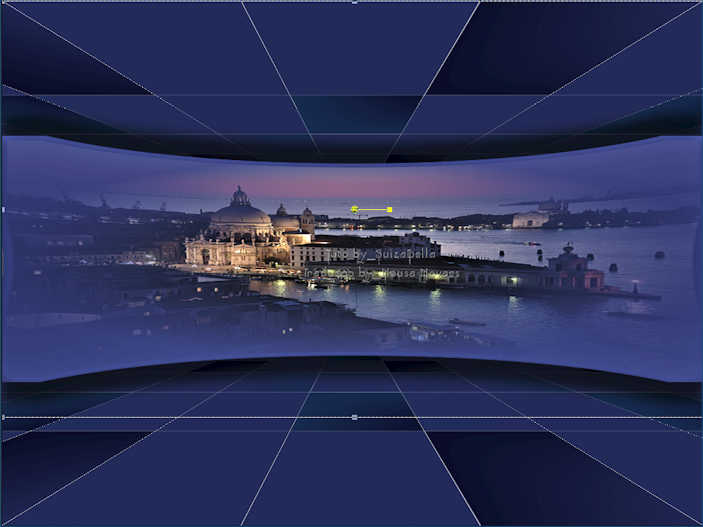
10.- Plugin
Muras Meister >
Perspective
Tiling conforme
printe
-
-
11.- Duplicar e
Image > Flip
-
-
12.- Merge Down
-
13.- Layers >
New Raster Layer
-
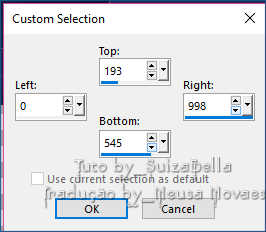
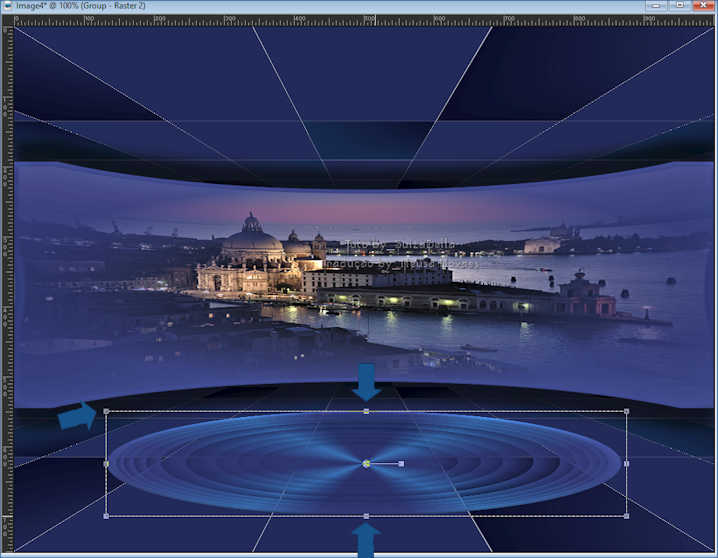
14.- Ativar a
ferramenta de
seleção e Custom
Selection
conforme printe
-
-
15.- Preencher
com o Foregraund
-
-
16.- Abrir,
copiar e colar
na seleção o
tube
lunapaisagem1736.pspimage
-
-
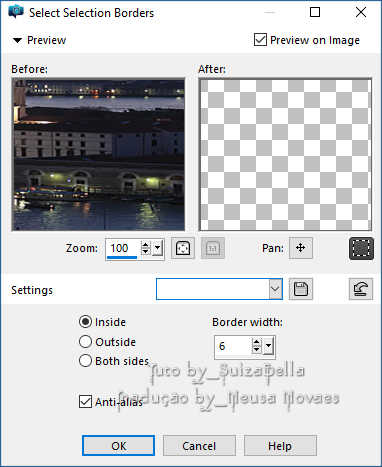
17.- Selections
> Modify >
Select
Selection Border
conforme printe
-
-
18.- Preencher
com o Foregraund
-
-
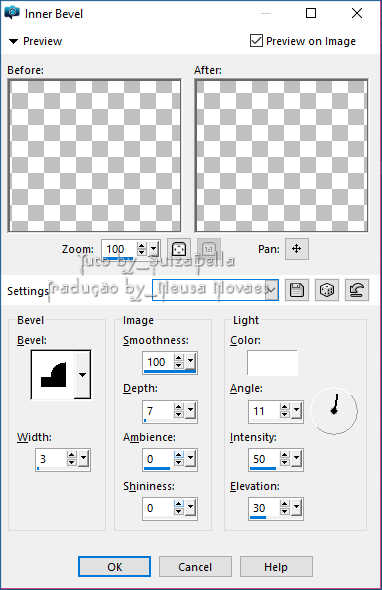
19.- Effects >
3D Effect >
Inner Bevel
conforme printe
-
-
20.- Tirar
seleção
-
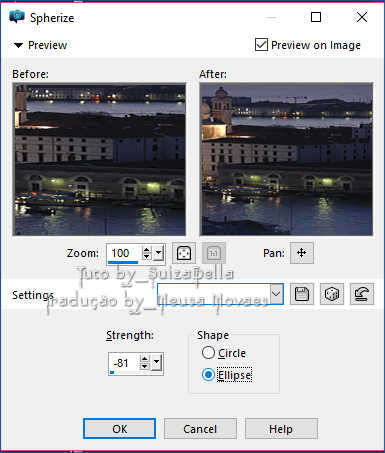
21.- Effects >
Geometric Effect
> Sheperize
conforme printe
-
-
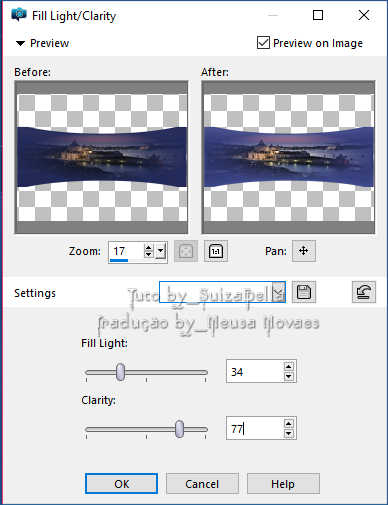
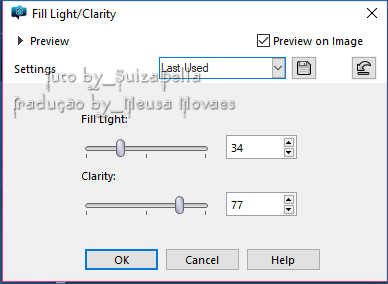
22.- Adjust >
Brightness and
Contrast > Fill
Light/Clarity
conforme printe
-
-
23.- Aplicar
sombras= -30 -
-1 - 68 - 24,00
-
-
24.- Repetir
sombras
novamente= 30 -
-1 - 68 - 24,00
-
-
25.- Merge Down
-
Sua arte estará
assim:
-
26.- Layers >
New Raster Layer
-
-
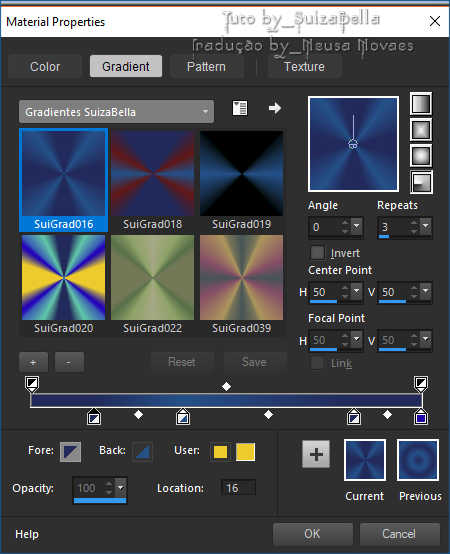
27.- Preenchemos
com um
gradiente
SuiGrad016
Radial com as
cores no
-
Foregraund
#1a295a e no
Backgraund
#17548b
-
-
28.-Aplicar mask
MASKSUIZA08-8-1
conforme printe
-
-
29.- Merge Group
-
-
30.-Effects > 3D
Effect > Inner
Bevel conforme
printe
-
-
31.- Adjust >
Brightness and
Contrast >
Fill Light/Clarity
conforme printe
-
-
32.- Ativar a
ferramenta Pick
Tool conforme
printe
-
-
Sua arte ficará
assim:
-
-
33.- Merge
Visible
-
-
34.- Abrir,
copiar e colar
em nova layer o
tube Gabry-man
103-17
-
-
35.- Resize= 70
%
-
-
36.- Effects >
Image Effect >
OffSet=
Horizontal= -3 -
Vertical= -110
-
-
37.- Aplicar
sombras= -12 -
22 - 50 - 24,00
-
-
38.- Merge
Visible
-
-
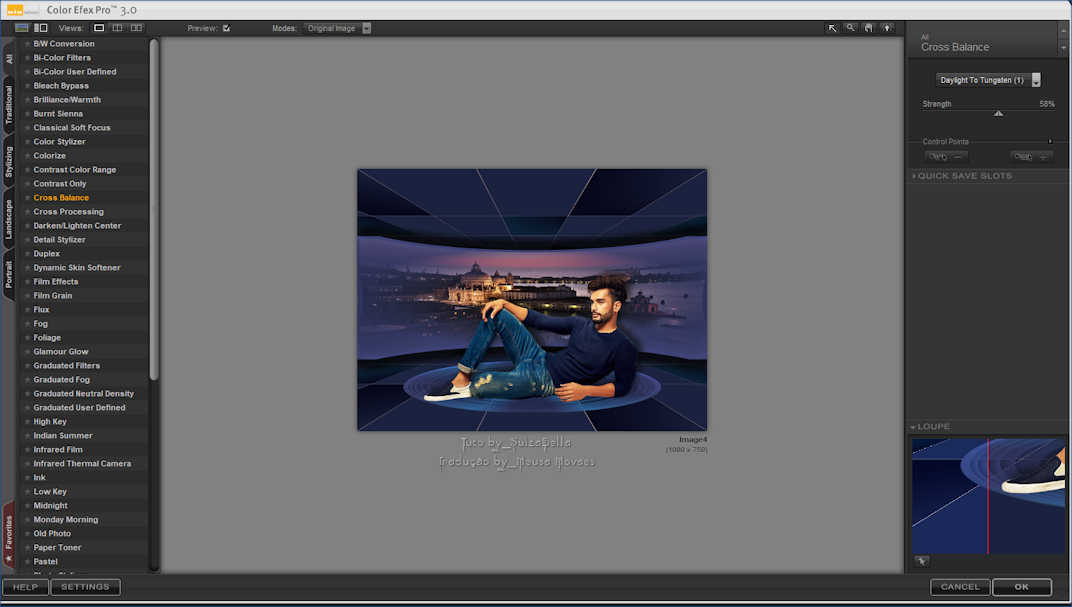
39.-Plugin
Nik_Sofware >
Color Efext Pro
3.0 Complet >
Cross Balance
conforme printe
-
-
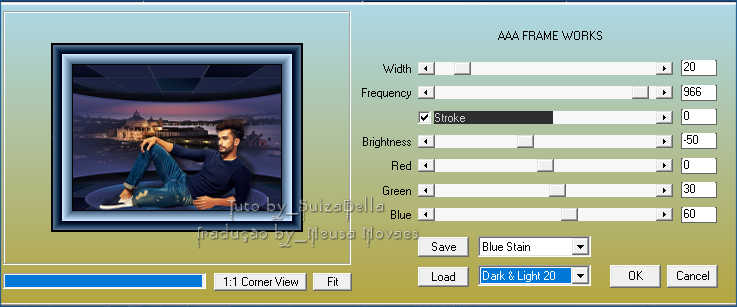
40.-Plugin AAA
Frames > AAA
Frame Works
conforme printe