To print this page

Terms of use

 
2 Tubes
 
1 Adorno
 
 Italian Editors Generation Plugin
 
 LK Plugin
 
 Transparency
 Plugin
 
EML Tutorial HERE
 
Video HERE
 
PSP Effects 


Scripts


Click on the butterfly to follow the tutorial


Enjoy


Stay at Home !!!


Let´s start!!!


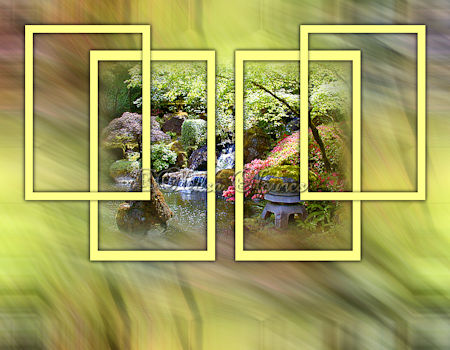
1.-Open your Alpha_Lilica


2- I put it in Foregraund # 6f7638 and Backgraund # ffff8b


3-Make a Radial gradient 0 - 1 and fill your transparency


4- Selection All


5- Edit, Open, copy and paste into selection the landscape tube


6-Selection None


7-Adjust> Blur> Radial Blur as shown

8-Image Effects> Seamless Tilling = Default


9-Adjust> One Step Photo Fix> Phantom effect according to printer

11- Adjust> One Step Photo Fix again


12-Selection> Load / Save Selection From Alpha Channel and locate Selection # 1_NC


13-Layers> New Raster Layer


14-Fill in your Backgraund and deselect


15-Repeat item 13 and 12 and locate Selection # 2_NC


16-Repeat item 14 again


17-Layers> Arrange> Move Down


18-Activate raster 2 and apply Drop Shadow = 0 - 0 - 80 - 10.00 in black


19-Do the same thing with the raster underneath


20-Activate the raster decima and merge down


21-Reflection Effects> Rotating Mirror as shown

22-Apply the same Drop Shadow as before


23-Activate the raster 1


24-Edit, open again copy and paste the landscape tube in a new layer


25-Resize = 60%


26-Adjust> Sharpness> Sharpen More


27-Activate the raster 1 again


28-Canvaz Size as shown

29-Activate the PICK TOOL tool and take it to the end as shown

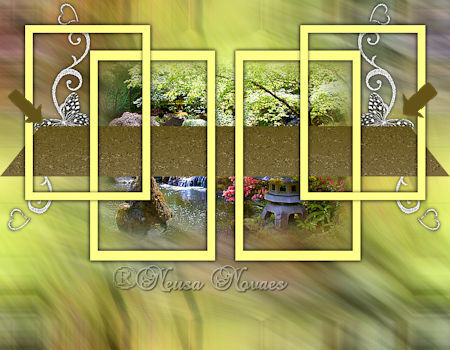
30-Edit, Open, copy and paste the adornment according to the model


31-Activate the raster 2


32-Layers> New Raster Layer


33-Fill with Linear Gradient 0 - 0 in Foregraund colors # 7b6a3c and backgraund # 635318


34-Texture Effects> Fine Leather as shown

35-Adjust> Sharpness> Sharpen


36-Activate the Pick Tooll tool and take it down to 250 px and below up to 350 px


37-Change the Pick Tooll to Perspective and at its light tip up to 80 px as shown

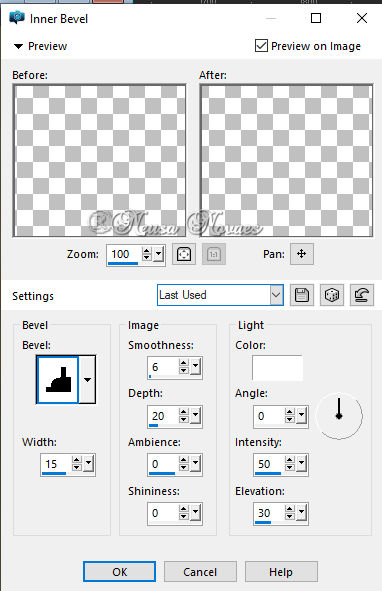
38-Inner Bevel as shown

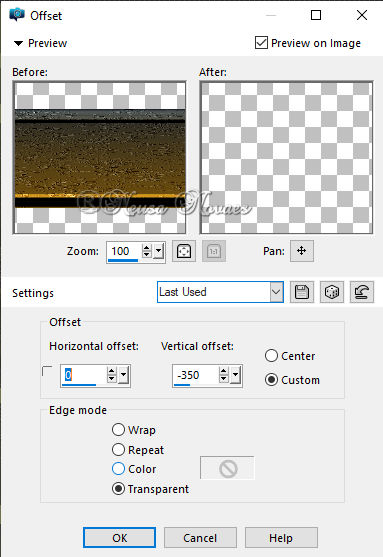
39-Image Effects> OffSet as shown

40-Duplicate and Resize = 80%


41-Repeat item 40 and Merge Down 2 times


42-Activate Raster 1 and duplicate


43-Plugin LK> Lenk`s Pia as shown

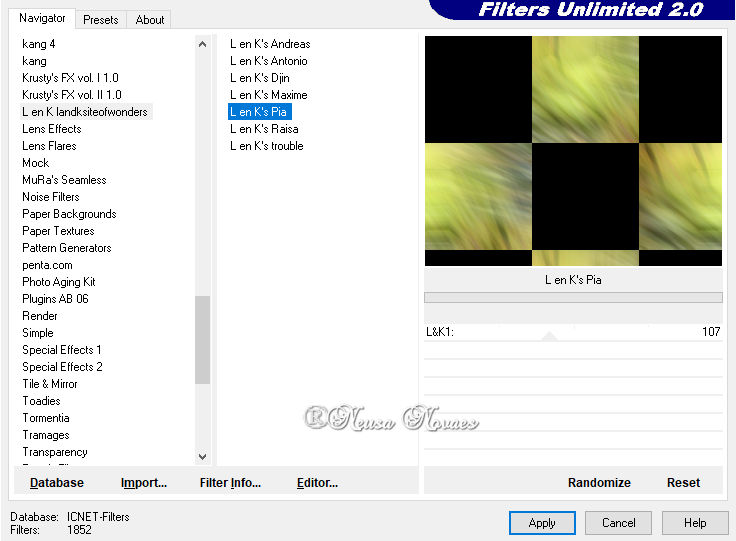
44-Plugin Transparency> Elimited Black


45-Activate the Top


46-Edit, Open, Copy and paste the main tube as a new layer


47-If necessary, resize it and add shadow to your taste


48-Put your credit and mine


49-Layers> New Raster Layer


50-Return the colors to previous materials and make the same gradient as item 1


51-Apply Masque-175-Azalee, Merge Group and apply Drop Shadow to taste


52-Layers> New Raster Layer and Selection All


53-Selection> Modify - Contract = 8 px


54-Invert and fill to taste


55-Inner Bevel according to item 30 deselect


56-With the Magic Wand tool select the center of the frame


and put Drop Shadow to taste


57-Save as JPG


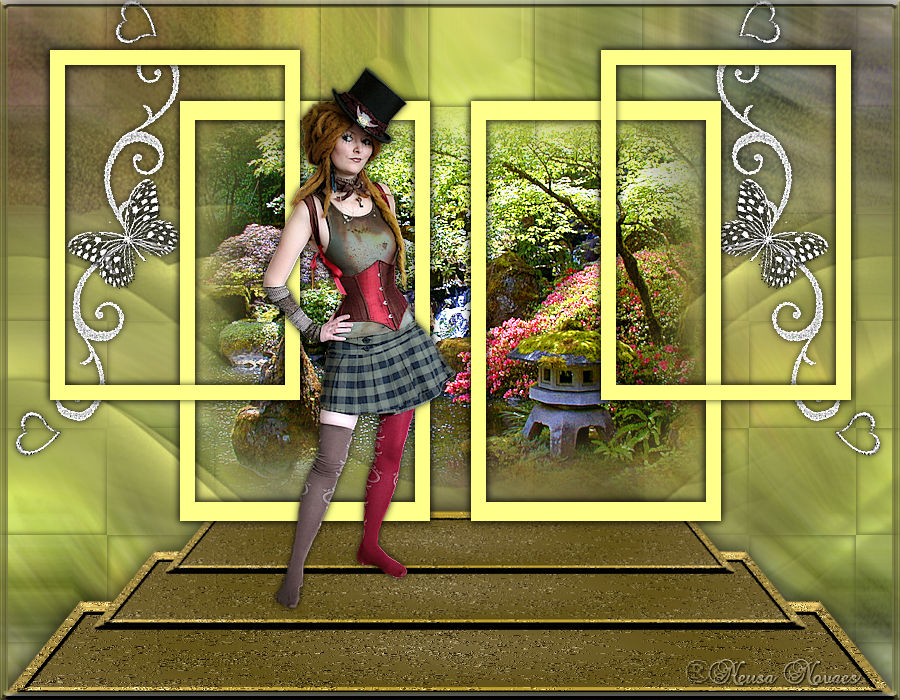
** Tutorial created by Neusa Novaes **


October 22, 2020

Copyright reserved


Any similarity is purely coincidental.


Total or partial transfer, copies, alterations prohibited


publication on websites or blogs, without authorization from the author.


NOTE: - Do not forget to place the credits to those entitled


Tubes do Principal:-Mina, Denise Worisch e ornamento recebido grupo de trocas

Masque-175-Azale