2-
I put in the Foregraund
#79af4c
and Backgraund
#305800
3- Make a
gradient SuiGrad016 (attachment) Lineal 0 -
0
4- Fill your
transparency as a gradient
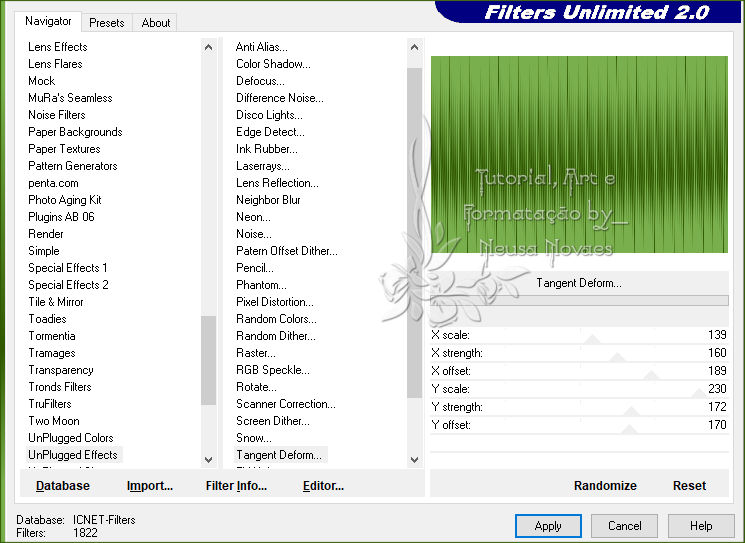
5- Unplugged
Effects Plugin> Tangent Deform as shown
6- Emboss 3
7- Duplicate
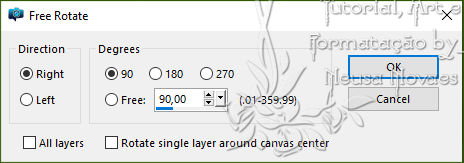
8- Image>
Free Rotate as shown
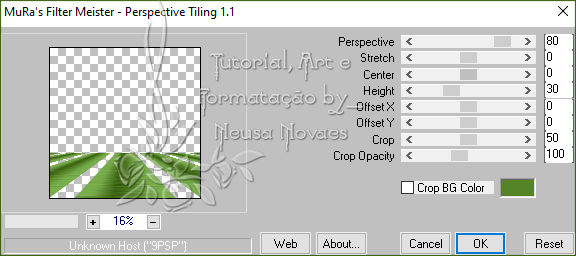
9- Muras
Meister Plugin> Perspective Tiling as shown
10-Apply Drop
Shadow = 0 - 0 - 80 - 10.00 in black
11- Apply to
!!! mask.ket-fadesuave1.jpg
Merge Group
12- Activate
Raster1
13-Layers>
New Raster Layer
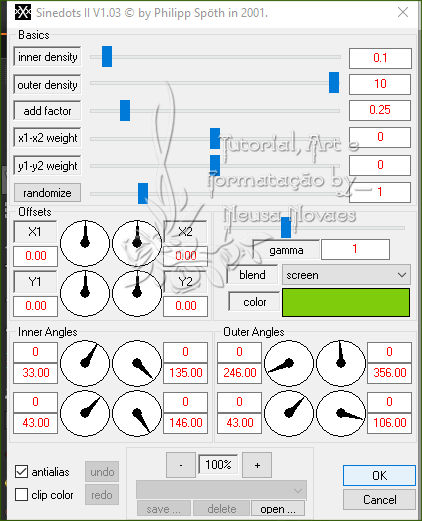
14- DragonFly
Plugin> Sinedots II as shown
15-Objects>
Align> Left
16-Duplicates
and Image> Horizontal Mirror
17- Merge
Down
18-Image>
Vertical Mirror
19-Activate
Raster 1 again
20-Open, copy
and paste the landscape tube in a new layer
21-Object>
Align> Top
22-With the
Picl Tool pull on the right and left side
until it touches the sides
23- Opacity =
70%
23-Activate
the top
24-Open, copy
and paste the main tube as a new layer
25-Adjust>
Shapeness> Sharpen and apply eyeshadow to
taste
26-Remove the
visibility of rasters 3 and 4
27-Copy
Special> Copy Merged and reserve
28- Return
the visibility of raster 3 and 4
29-Merge
Visible
30-Select
31-Select>
Modify> Select Seletion Borders = Both Sides
and AntiAlias clicked and Border 5
32-Layers>
New Raster Layer and fill with your
backgraund
33-Deselect
34- Image>
Add Borders = 40 px in white
35-Activate
the Magic Wand and select the white part
36-Paste Into
Selection what was booked
37-Adjust>
Blur> Radial Blur as shown
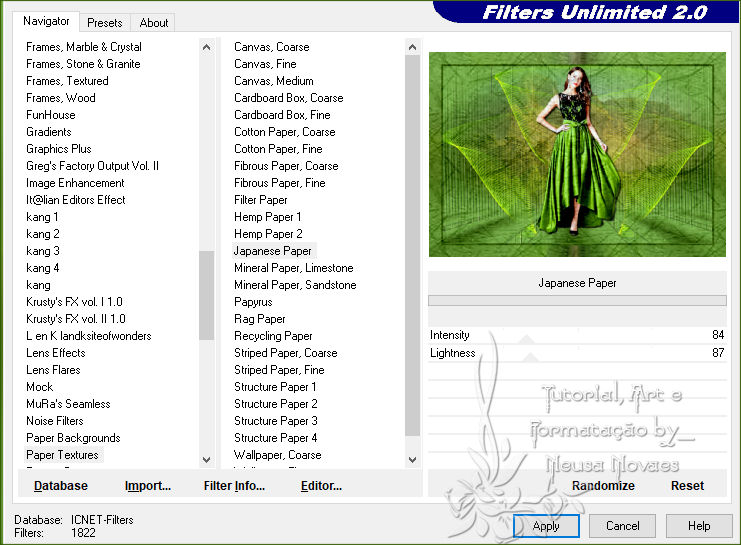
38-Plugin Paper Textures > Japanese Paper
conforme printe
39-Invert and apply
Drop Shadow = 0 - 0 - 80 - 60.00 black color
40-unselect
41-Image> Add
Borders = 5 px in the same color as above
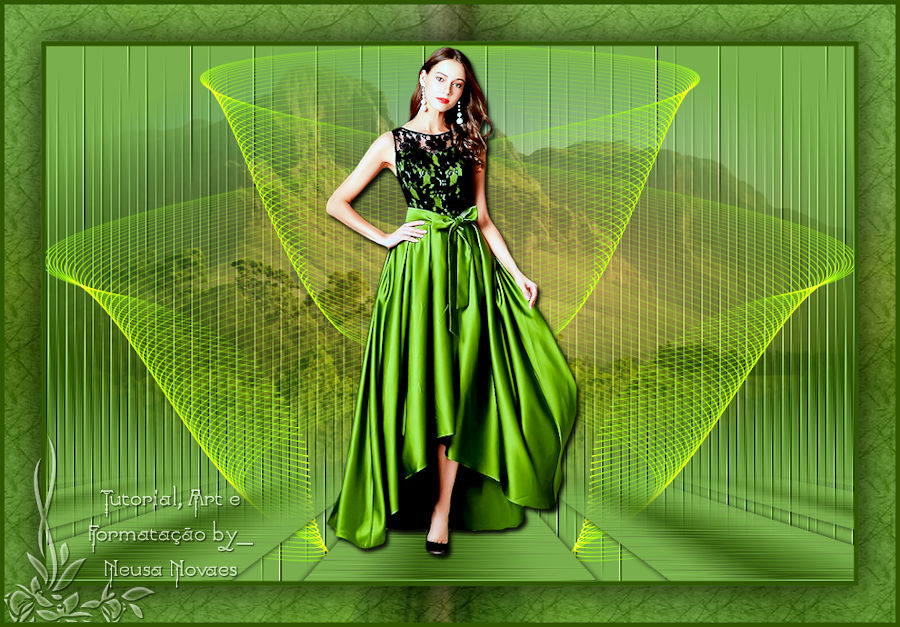
42-Put your credit
and mine
43-Resize = 900 px
44-Save in JPG