|
JADE
TOP

Terms of use
Click on the flag of your country, for
translation.
Depending on your connection the translation may
take a while
Materials
3 Tubes
Alpha
HERE
Plugin Transparency
AAA Filters Plugin
Tutorial on EML
HERE
Video Tutorial
HERE
PSP Effects
Script
Click on the butterfly to follow the tutorial
-
Let's start!!!
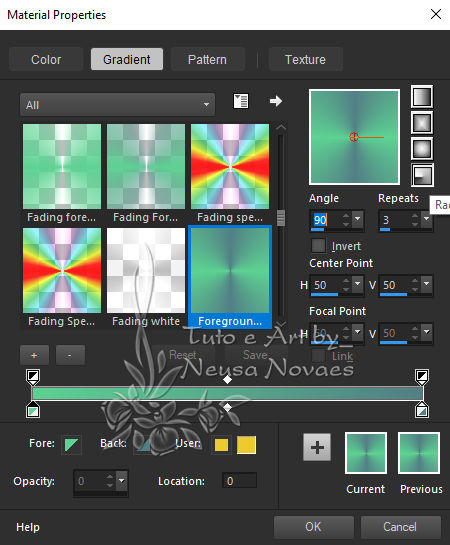
1.- Choose two colors put dark to
foreground I chose # 5bd194 and in the
background I chose # 508186
Make a Radial gradient according to
printe
2.-Open the Alpha
Channel Jade attached
3.- Fill with your gradient
4.-Layers> Duplicate
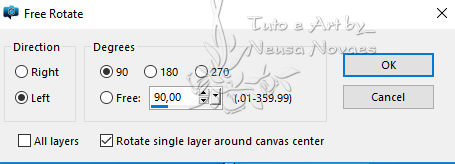
5.- Image> Free Rotate according to printe
6.- Blend Mode = Darken
7.-Apply Drop Shadow = 0 - 0 - 100 - 60,00 color
black
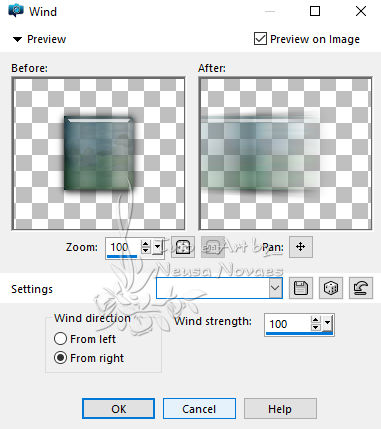
8.- Layers> Merge> Merge Down
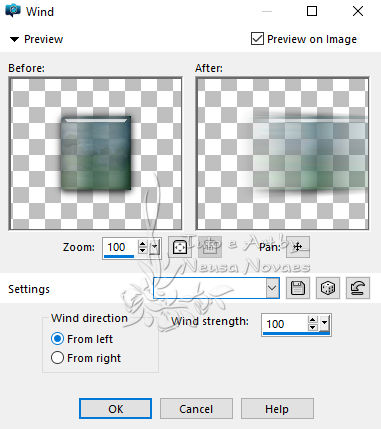
9- Layers> Duplicate
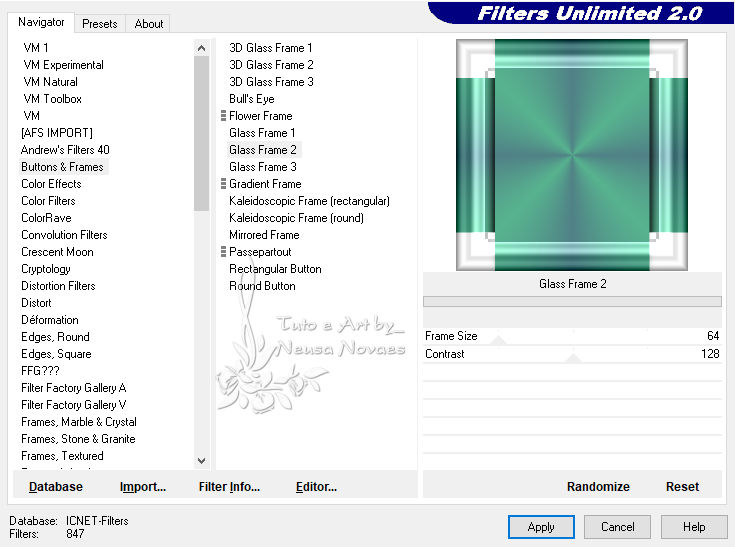
10.-Plugin Unlimited2> Button Frame> Glass Frame
2 according printe
11.- Resize = 80%
12.- Transparency Plugin> Eliminate White
13.- Layers> New Raster Layer
14.- Selections> Load / Save Selection> Load
Selection From Alpha Channel
and locate # selection1
15.- Open, Edit, Copy and paste into selection
your landscape
16.- Adjust> Sharpness> Sharpen
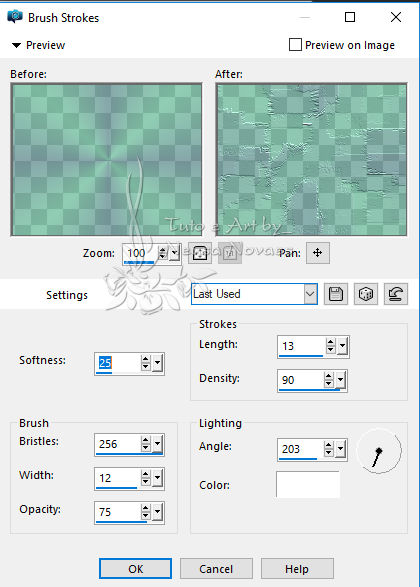
17.- Activate Copy of Raster 1 and apply Art
Media <Brush Strokes according to printe
18.-Go back to Raster 2
19.-Adjust> One Step Photo Fix
20.-Layers> New Raster Layer
21.-Selections> Load / Save Selection> Load
Selection From Alpha Channel
and locate # selection2
Fill in with your gradient
23.-Alien Skin Eye Candy5 Impact Plugin> Glass>
Clear with Reflection as it opens
24.-Apply Drop Shadow = 0 - 0 - 80 - 10,00 draw
selection
25.-Duplicate, Image> Horizontal Mirror
26.-Merge Down
27.-Duplicate again
28.-Image> OffSet = 0 - -395 and Merge Down
29.-Layers> New Raster Layer
30.-Selections> Load / Save Selection> Load
Selection From Alpha Channel
and locate # selection3
31.-Fill with your gradient
32.-Repeat the Plugin Alien Skin Eye Candy5
Impact> Glass> Clear with Reflection
33.-Apply Drop Shadow = 0 - 0 - 80 - 10,00
34.- Unselect
35.-Duplicate and Image> Horizontal Mirror
36.- Effects> Distortion Effect> Wind conform
printe
37.- Activate Promote Selection 1 (below)
38.- Repeat Effects> Distortion Effect> Wind as
printe
39.-Image> Add Borders 3 px in white color
40.-Image> Add Borders 50 px in the color of
your work
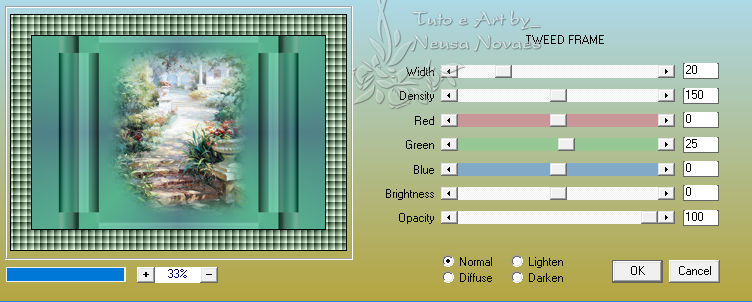
41.-Apply the AAA Filters Plugin> Tweed
Frame as printe
42.-Image> Add Borders 3 px in white color
43.-Open, Copy and paste your tubes in new
layer
44. Apply Drop Shadow to taste
45.-Put your signature and mine and Merge
Visible
46.-AAA Filters Plugin> Custom = Landscape =
OK
45.-Resize to 900px
46.- Save your art in jpg

NOTE: - Do not forget to put the credits to the
right ones.
** Tutorial created by Neusa Novaes *
January 17, 2019
Copyright reserved.
Prohibited total or partial transfer, copies,
alterations
publication in websites or blogs, without
author's authorization.
Credits
Tubes Principal: Anny and the rest of the tubes
without authorship | 