5- Layers>
New Raster Layer
6- Fill with your Backgraund
7- Repeat item 4
8- Aplply
Mask-Zen_732010_22
e
Merge Group
9- Emboss 3
10-Apply Drop Shadow as shown= 0 - 0 - 80 - 35,00
color
black
11- Layers > New Raster Layer
13-With the
same colors make a linear gradient 0 - 1
14- Fill in the transparency
15-Repeat item 4
16-Apply the 20-20 mask and merge group
17- Geometrics Effects> Horizontal
Perspective = 100 and clicked wrap
18-Duplicate and Image> Mirror Horizontal
19-Activate the Raster 1
20-Open, copy and paste in the new layer the
tube Paisagem_Neusa
21-Obeject> Align> Left and with the Pick
Tool, leave the tube well against your
left and pull the center slightly so that it
is up to 450 px
22-Duplicate and Merge Down
23- Duplicate again and Image> Mirror
Horizontal pull a little towards the
right the center so that it is up to 450 px
23-Activate the top
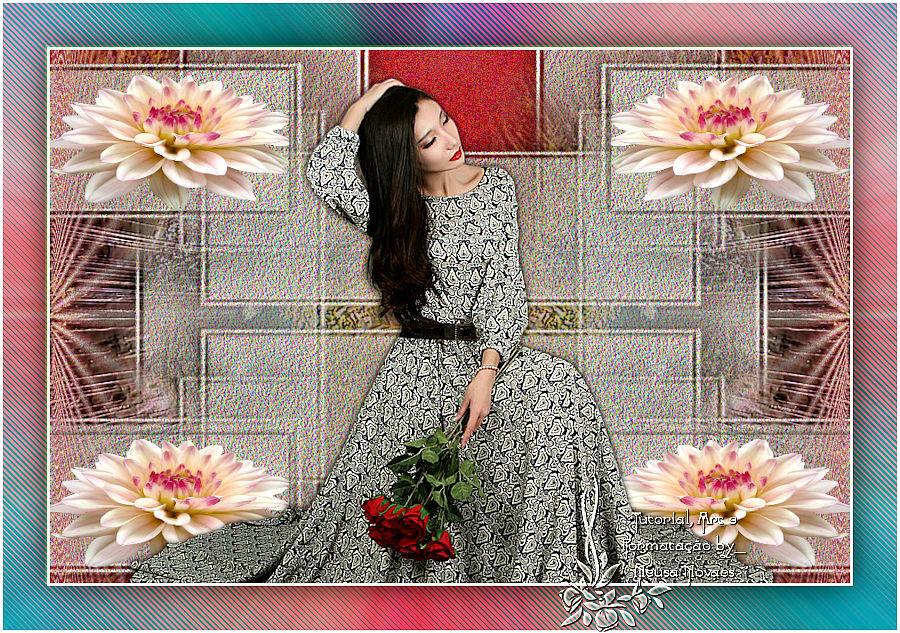
24-Open, copy and paste the main tube as a
new layer and go down a little
25-Adjust> Shapeness> Sharpen More and apply
drop shadow to taste
26-Open, Copy and paste the flower tube as a
new layer and place it according to the
model
27-Repeat step 25
28- Layers> New Raster Layer
29-Select the rectangle and apply drop
shadow = 0 - 0 - 80 - 10.00 black color
30-Merge Down with the flower
31-Duplicate, Image> Mirror Horizontal and
Merge Down
32-Duplicate again and Object> Align> Botton
33-Place under the main tube
34- Remove the visibility of Copy Raster 1,
Raster 3, Raster 4 rasters
35-Edit> Copy Special and reserve
36-Go back to the visibilities
37-Image> Add Borders = 3 px in the color
that matches and select
38-Image> Add Borders = 50 px in contrasting
color
39-Invert and Edit> Paste Into Selection
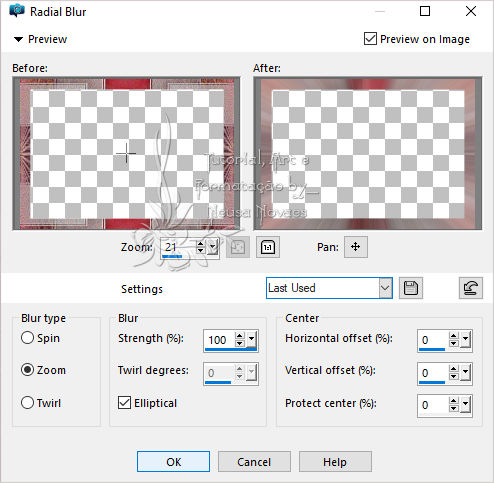
40-Adjust> Blur> Radial Blur as shown
41-Plugin AP
Lines> Lines Lined as shown

42-Invert again and
apply Drop Shadow = 0 - 0 - 80 - 60.00 black
color
43-Deselect
44-Image> Add
Borders = 3 px in the same color as above
45-Put your credit
and mine
46-Resize = 900 px
47-Plugin AAA
Filters> Custom = Landscape
48-Save as JPG

** Tutorial created by
Neusa Novaes **
August 29, 2020
Copyright reserved
Any similarity is purely coincidental.
Total or partial transfer, copies, alterations prohibited
publication on websites or blogs, without authorization from the author.
NOTE: - Do not forget to place the credits to those entitled

 Crédits
Tubes: Suiza Bella, Talanat
e Neusa Novaes