-
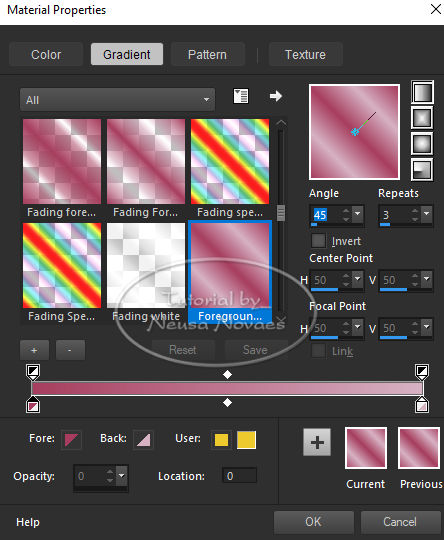
34.-New Layer and fill the
transparency with the gradient
Opacity 60%
-
(Do not forget to move to 100%)
-
-
35.-Open, copy and paste into
selection your landscape tube
-
(Adjust One Step Photo Fix is Optional)
-
-
36.-If you applied Adjust One
Step Photo Fix, repeat item 33
-
and Selections> Modify> Select
Selection Borders =
-
Both Sides and AntiAlias clicked
the size 3 px
37. Fill in with your Foregraund
-
38.-Alien Skin Eye Candy 5
Impact> Glass Plugin and locate
Glass_Carmencita
-
(see configuration on printe)
-
-
39.-Activate Copy Raster2 and
new layer
-
Fill transparency with the
Backgraund Opacity 100%
40.-Apply
to Narah Mask_1375 and merge group
41.-Blend
Mode = Hard Light and Enhance
42.-Activate
Raster 2 and duplicate
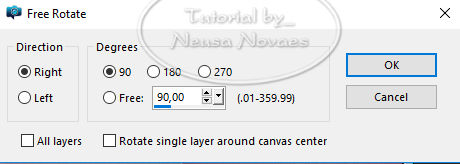
43.-Layers>
Arrange> Move UP
-
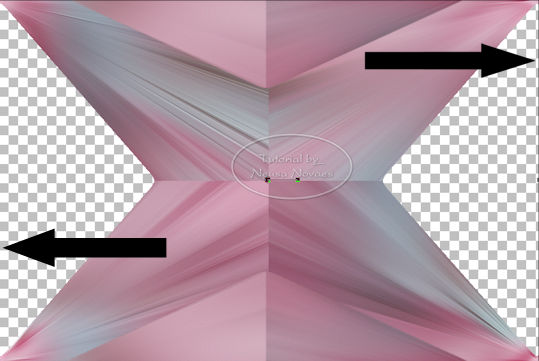
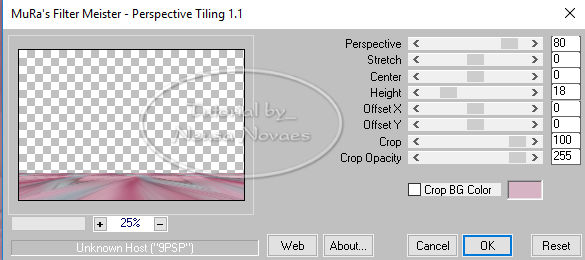
44.-Muras Meister Plugin>
Perspective Tiling according to
printe
45.-Apply
the same Drop Shadow and activate the
top raster
46.-Open,
copy and paste in new layer your tubes
and put shadow to taste
47.- Image>
Add Borders = 3 px color foregraund
48.- Image>
Add Borders = 3 px color backgraund
49.- Image>
Add Borders = 3 px color foregraund
50.- Select
51.-Image> Add Borders = 30 px color
backgraund
52.-Invert
-
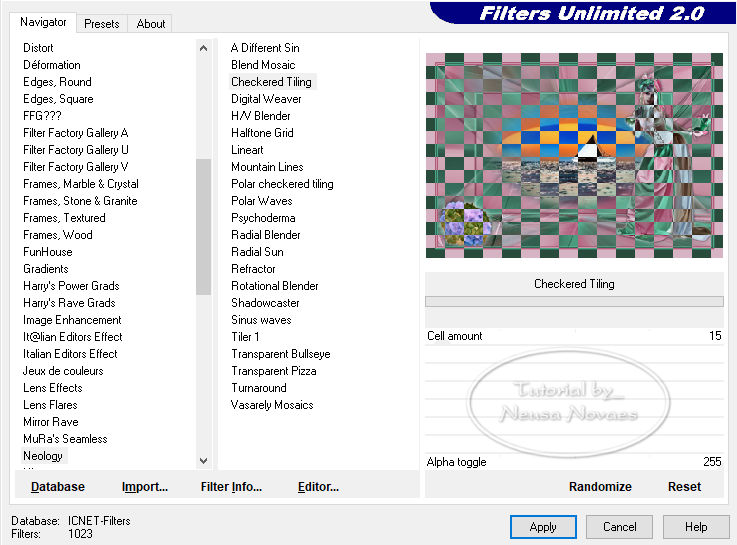
53.-Neology Plugin> Chekered
Tiling according to printe
-
-
54.-Deselect and select all dark
frames
-
and fill in with your Foregraund
-
-
55.-Plugin Alien Skin Eye Candy5
Impact> Glass and locate the
-
Previous Glass_Carmencita
56.-De-select
57.-Select and Selections> Modify>
Contract = 30
58.-Apply Drop Shadow = 0 - 0 - 80 -
30,00 in black color and take selection
59.-Image> Add Borders = 3 px color
foregraund
60.- Put
your mark and my
61.-Resize
= 900px
62.-AAA
Filters Plugin> Custom = Landscape
63.- Save
your art in jpg
NOTE: - Do not
forget to put the credits to whom
right.
** Tutorial
created by Neusa Novaes *
May 1, 2019
Copyright reserved.
Prohibited total or partial transfer,
copies, alterations
publication in websites or blogs,
without author's authorization.
 Credits
Main Tubes: Beatrice, Sonia and
attached materials
Credits
Main Tubes: Beatrice, Sonia and
attached materials