 |

Terms of use
-
2 Tubes
Filter Factory Gallery V
plugin
Alien Skin Eye Candy5 Plugin>
Impact
AAA Filters plugin-
Materials
HERE
-
EMLTutorial
HERE
-
Video
HERE
- PSP EfFects
Script
Click on the butterfly to
follow the tutorial.
Let's start!!!
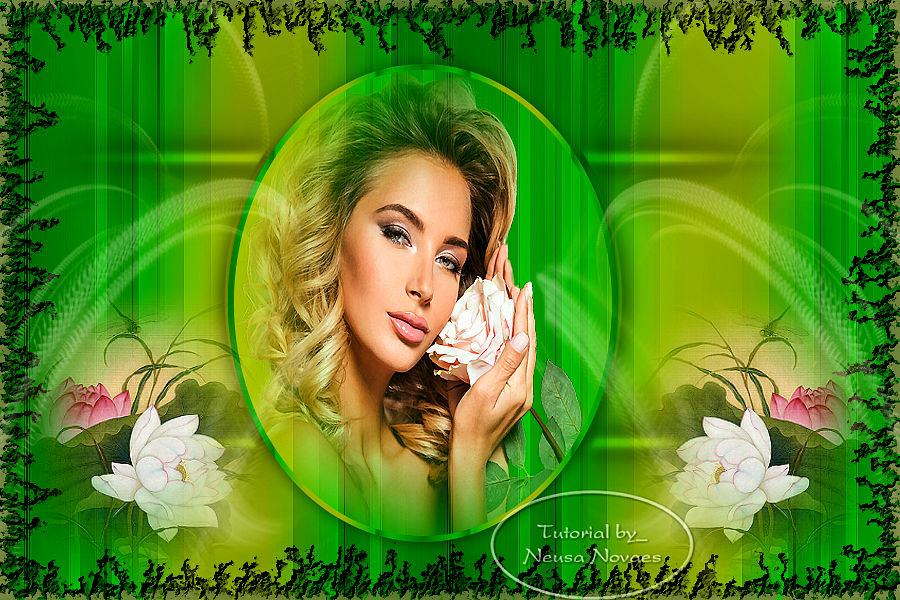
1.- Open Alpha_Andreia
2. Put a dark color on Foregraund and a
light color Backgraund.
3. Make a Forest Green gradient as you wish
and fill in your transparency.

- 3.-Adjust> One Step Photo Fix
4.-Plugin Filter Factory Gallery V> Posterize as Print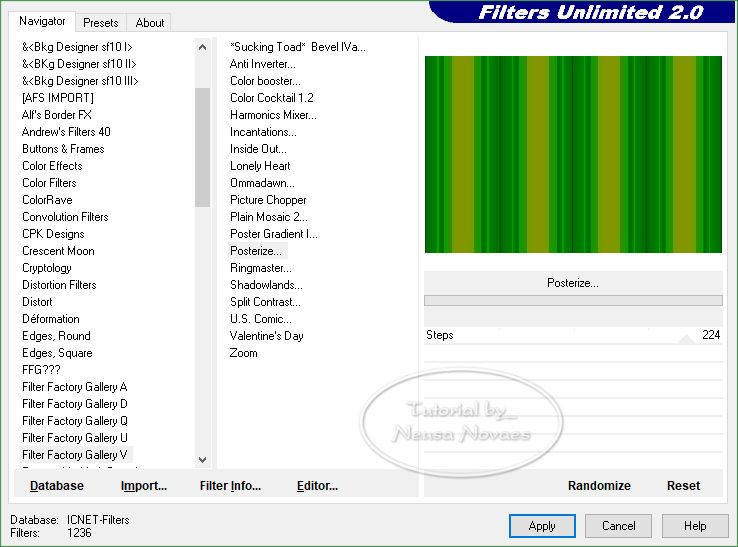 -
- 5.-Adjust> One Step Photo Fix
6.-Image Effects> Seanless Tiling> Side And Side 2 Times
7.-Duplicate
8.-Apply the mask Narah 1437 and Merge> Group
9.-Apply 2 times the Drop Shadow = 0 - 0 - 80 - 30,00 in black color
10.-Layers> New Raster Layer
11.-Layers> Arrange> Move Down
12.-Selections> Load / Save Selection> Load / Selection From Alpha =
Locate Selection # 1
13.-Open your main tube Edit> Copy
14.-Edit> Paste Into Selection
15.-Adjust> One Step Photo Fix and Sharpness> Sharpen
16.-Activate the Raster that applied the mask and Repeat item 12
17. Delete and apply the same Drop Shadow
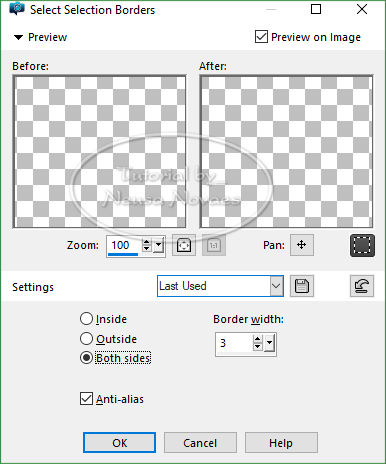
18.-Selections> Modify> Select Selection Border as follows
-
-
- 19.-Layers> New Raster Layer
20.-Fill in with your gradient
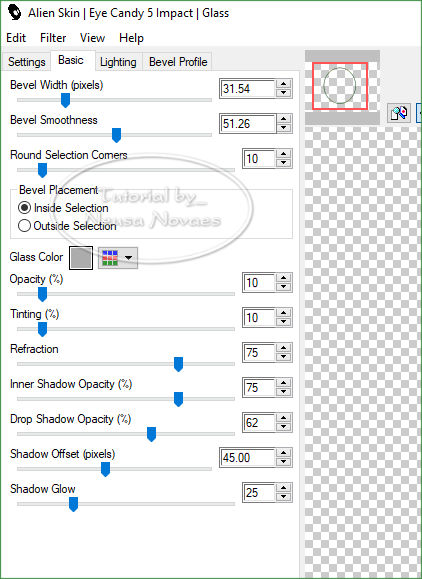
21.-Alien Skin Eye Candy5 Plugin> Impact> Glass to match
-
-
- 22.-Take selection
23.-Adjust> One Step Photo Fix
24.-Enable raster 1
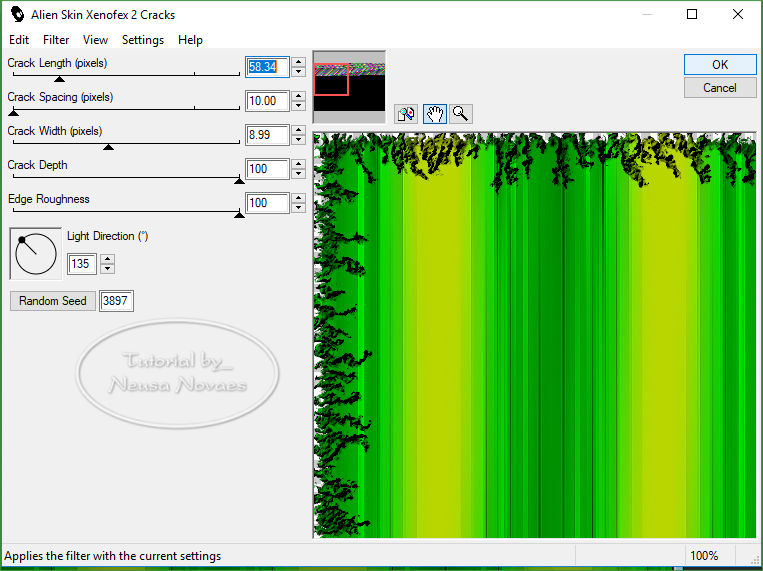
25.-Alien Skin Xenoflex2 Plugin> Cracks as required
-
-
-
26.-Layers> New Raster Layer
27.-Layers> Arrange> Move Down
28.-Fill in with your Backgraund
29.-Activate Raster 3 (top)
30.-Layers> New Raster Layer
31.-Fill in with white
32.-Apply the Narah 1414 mask
33.-Merge Group
34.-Image> Horizontal Mirror
35.-Image> Mirror Vertical and Opacity = 60%
36.-With Pick Tool move left to right up to 700 px
(be careful to move everything)
37.- Duplicate and Image> Mirror (horizontal)
38.-Merge Down
39.-Opacity = 60%
40.-With the Eraser tool remove excess main tube
(if necessary)
41.-Open Edit> Copy the decoration tube
42.- Resize (if necessary) and place the left as model
43.-Adjust> One Photo Fix
44.-Sharpness> Sharpen
45.-Layers> Arrange> Move Down
(if necessary)
46.-Duplicate and Image> Mirror (Horizontal)
47.-Put mine and your mark and Merge Visible
48.-Plug AAA Filters> Custom> Landscape
49.-Save to JPG
-
-

-
- ** Tutorial created by Neusa Novaes
**
September 2, 2019
Any similarity is purely coincidental.
Forbidden total or partial transfer, copies, alterations
publication on websites or blogs without permission of the author.
NOTE: - Don't forget to put credits to the rightful
owner.
 Crédits Crédits
Tubesl:- Silvie
e Ellys
|

